OBS, Zoom and Itempool live all together on Mac
The goal
I wanted to be able to have a setup with
- Screen sharing my desktop (the basics)
- My face embedded on the screen with a transparent background (like Twitch streamers :-))
- A way to annotate on my screen using a mouse or an iPad
- A way to embed itempool.com live Q&A’s (like in 3Blue1Brown live videos)
And the whole thing should run on Mac (Catalina+) with a recent iPad + stylus (iOS13+) and usable on Zoom. The goal is to teach a programming workshop.
The quick way would be to share my desktop from Zoom directly, but that’s no fun :-)
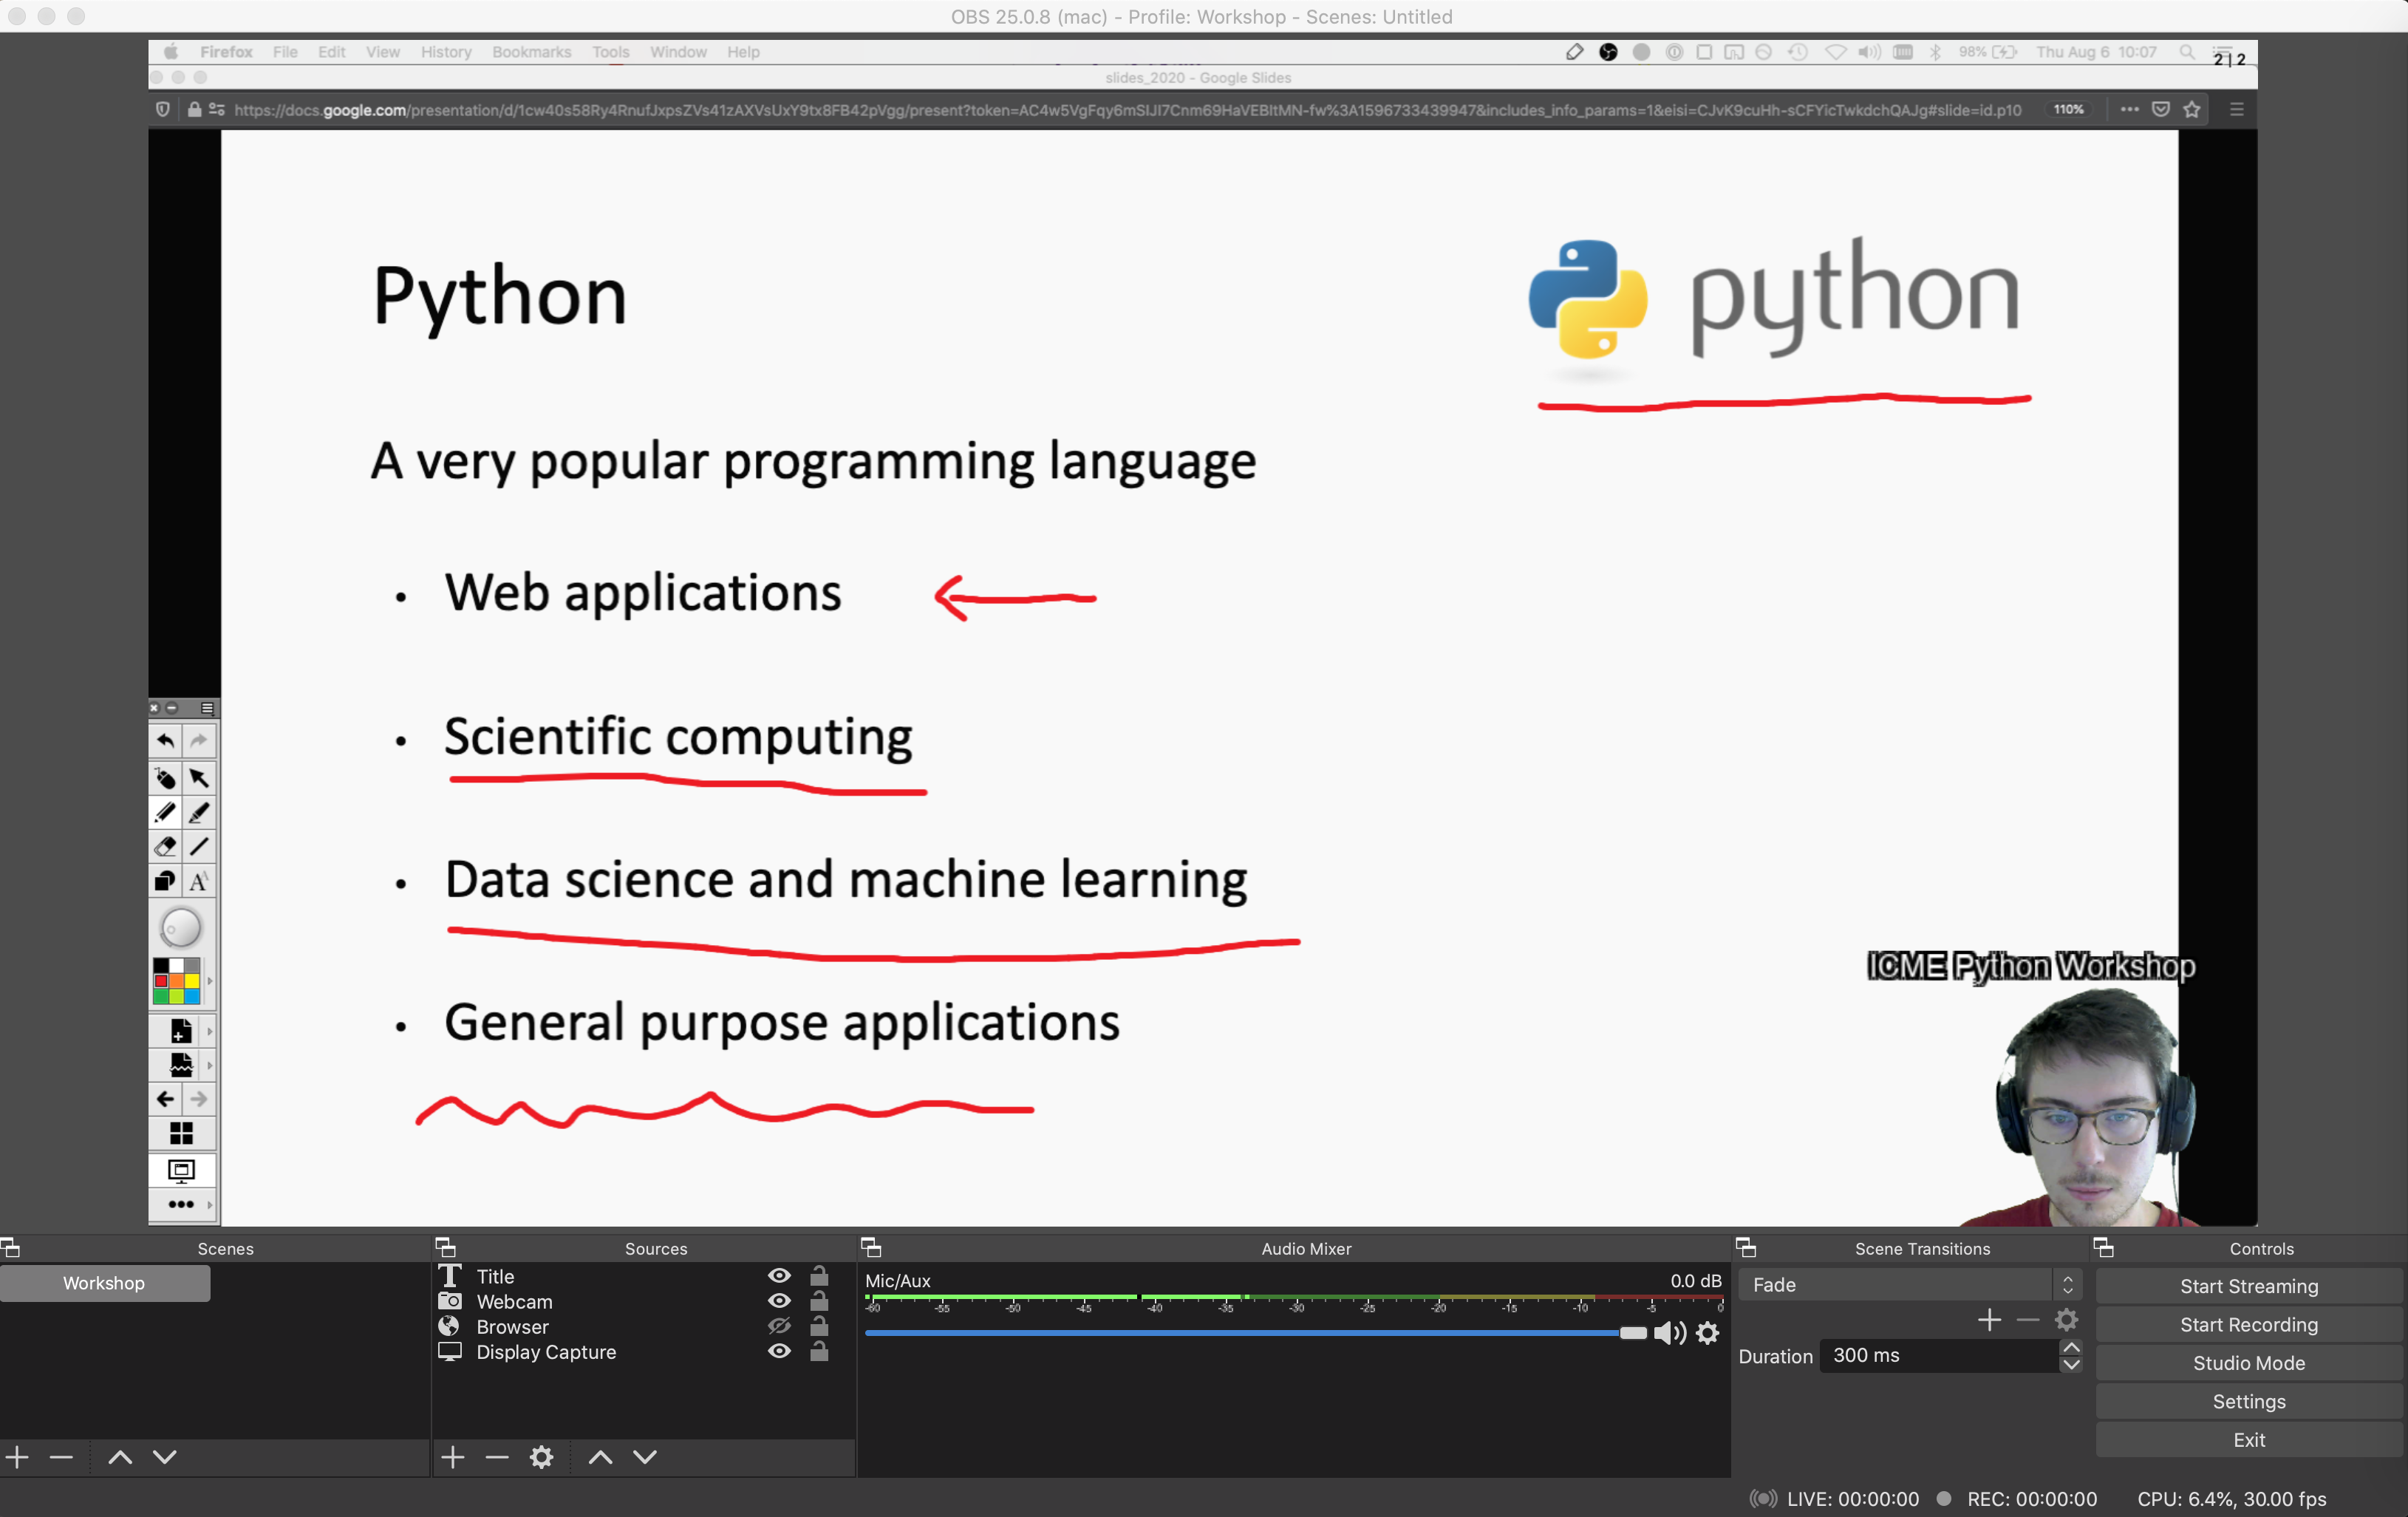
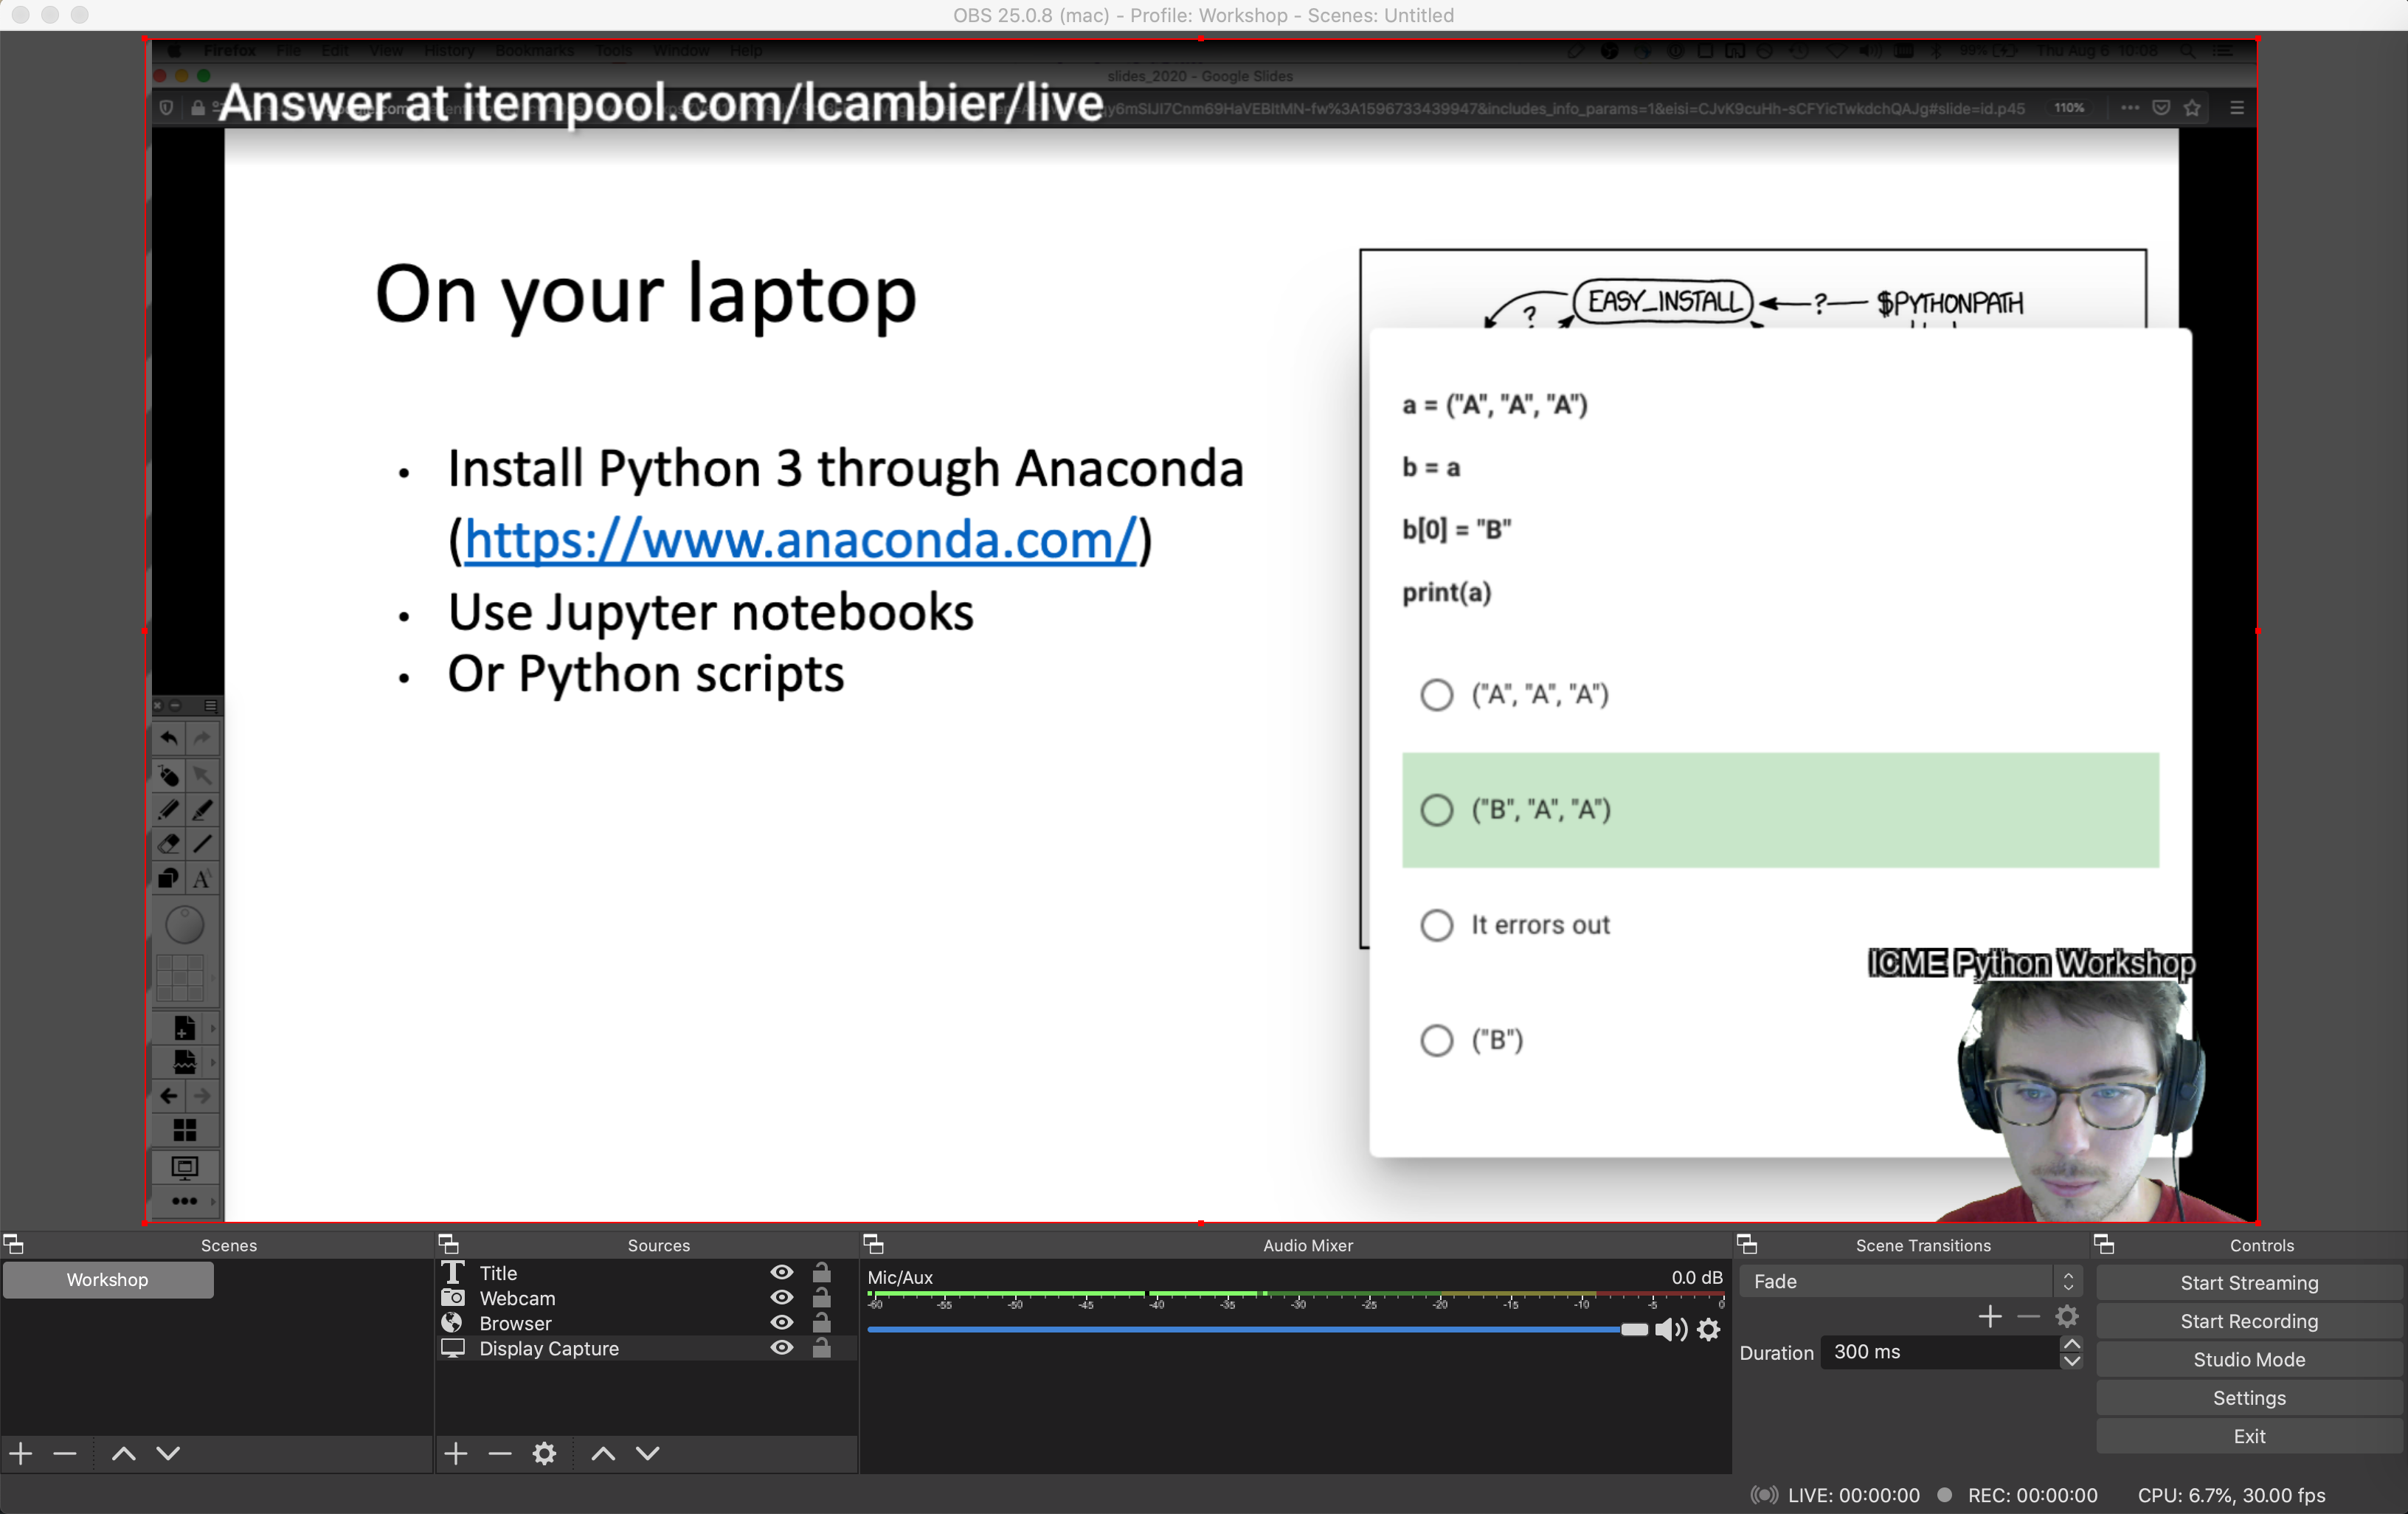
In the end that’s how it looks. The participants only see the top part.
Regular stuff with annotations.
Itempool overlay. Ideally you’d pick a slide related to the question, or just show your face.
What you’ll need
- A Mac
- Optional: an iPad, to run Sidecar, with a stylus. If you want to annotate with an iPad.
- Optional: some sort of green screen behind you. I made one using those cheap green posters. Anything would do. The key is to have a very bright smooth (uniform) green material. I am using 3 sheets (so that’s about 3$) mounted on an unused Canvas.
Setup
A. Itempool
- Create an account at Itempool, pick a nice username (it will show up in the URL the participants use to vote).
- Create a pool of questions.
- Create a challenge.
- Start the live challenge by clicking on “administer live”.
You should now be able to use the address https://itempool.com/username/live/stats (change username with yours) to overlay the results on your stream. This webpage has a transparent background so it can be embedded on top of your screen (or webcam) for instance.
B. (Optional) Mount your green screen
If you have a green screen, mount it behind you ! The keys are
- good lighting with no strong shadows;
- smooth background.
Alternative
If you don’t have a green screen, you can use chromacam. The free version will
- capture your webcam,
- remove the background and replace if with a green background,
- create a virtual webcam from that.
You can them use that virtual webcam as a source in OBS, which will then create another virtual webcam for Zoom. Lots of virtual webcams :-)
There are two issues.
- There is a watermark in the feed. Not pretty. You can try to filter it out in OBS but it’s a bit tricky and not convenient.
- The background removal is OK-ish, but not super accurate. Not as good as Zoom’s built in one.
C. Install OBS
- Install OBS for Mac
- Install this plugin to create a virtual webcam on Mac. This will let us create a virtual webcam from the OBS stream, and Zoom will take that as an input, thinking it’s a regular webcam.
- Restart your laptop (may or may not matter)
If you have issues with this like I did (basically the webcam would not show up in Zoom), try uninstalling completely the plugin, OBS, and reinstalling in the right order, properly.
D. Setup OBS
OBS is a way to arrange different pieces (like a webcam, a screen sharing, some extra text, etc) into one video stream that you can then feed to Zoom (or other).
Start OBS, and then
- Add a source “Display Capture”, and resize it to fill the whole window. This will capture your desktop. You can also capture individual windows, but then participants won’t see your mouse pointer.
- Add a source “Webcam” and place it somewhere. I use the bottom right.
- (Optional, if green screen) Right click on “Webcam”, go to “Filters”, in “Effect Filter” add a “Chroma Key”. You can play with the settings (in particular similarity) so that it catches the green screen properly. It should make your background transparent.
- Add a “Browser” and use the Itempool url as “URL”. Resize and position it where you want.
- In “Tools” click on “Start virtual camera”
Additionaly you can create multiple scenes to have different setups saved, but I haven’t tried that yet. You click on the “Eye” next to each source to hide it, and you can reorder them (right-click and “Order”) from background to foreground.
E. (Optional) Install SwordSoft Screenink Free and setup SideCar
- Install SwordSoft Screenink Free from the App store. Any other tool you find would word, but that one is free and works well for me. You can use this to annotate your screen and point to things.
- Connect your iPad to your Mac using Sidecar. Mirror your screen to your iPad, and pick your laptop as the main display. Combined with Screenink, you can now directly annotate your laptop screen using your stylus. Perfect to points to things or annotate slides.
If you heavily annotate slides, I would recommand annotating directly in your PDFs (don’t use Screenink) and saving it to share with participants after.
F. Start Zoom
- Start your Zoom meeting
- In “Share Screen” go to advanced and pick “Content from 2nd Camera”. There, use the “Switch camera” button to pick your OBS virtual webcam. This is important. If you only replace your regular camera with the OBS virtual webcam, the quality will be very poor (Zoom optimizes for latency there, not quality). You need to use the second camera if you want to share text for instance.
Limitations
- Unefortunately, participants won’t be able to annotate your screen. Zoom does not allow annotations on shared “2nd camera”. This is a feature and not a bug, at the moment.
- If you use Screenink to annotate your screen, you’ll most likely “lose” all those annotations when you stop or erase them (it actually saves them, but without the “context”, it’s hard to share/reuse).